We always have at least one ongoing restoration project.
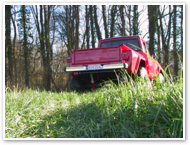
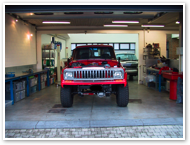
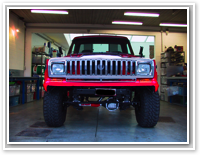
The process is always pretty much the same. Here’s a quick and illustrated explanation of a complete restoration project. Here are some pics of our current work in progress.
Restoration Projects
Restoration Process.
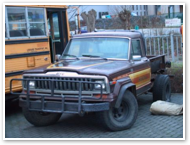
At a certain point in time, things just get old and used. Jeeps aren’t eternal! By performing a full frame-off restoration, a Jeep will get a second life, a second chance to be what it used to be!
As passionate enthusiasts and over-the-edge maniacs, we don’t consider anything but the best for a Jeep, meaning that if we do it, we’ll want to do it right!
There’s nothing more frustrating than having a beautiful truck with nothing working the way it should.
Rules and codes:
-
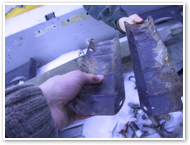
➡ What can be sandblasted should be!
-
➡ Galvanize your frame, after it has been sandblasted, inspected and repaired if necessary.
-
➡ Metalize (aluminum jet coating) what cannot be galvanized to avoid future rust.
-
➡ Mechanical parts should be sound and in good working condition. If not, they should be replaced.
-
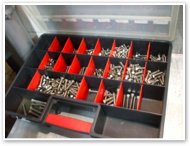
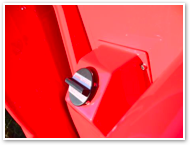
➡ Use as much as possible stainless steel bolts, nuts, washers and screws.
-
➡ Epoxy coat metalized and galvanized parts for proper looks!
-
➡ Primer and paint what cannot be epoxy-coated.
-
➡ What can be found new; should be considered bought!
-
➡ Don’t spoil a Jeep by using cheap paint jobs. Don’t accept mastic repairs. Body work should be done the good old way; tin usage is recommended.
Process:
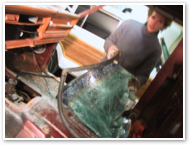
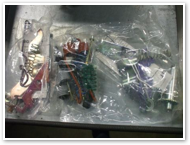
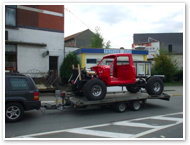
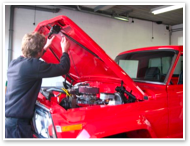
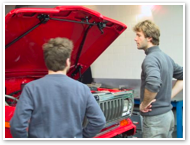
We’ll start by disassembling every possible part, bolt, screw and nut from its original place. This will give a good overview of the general state of the vehicle. We usually find previous owner’s left-overs. Typical finds are coins, bullets and even rats in the heater blower! You don’t want these to stay in your restored Jeep.
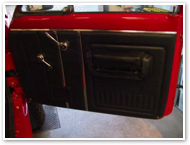
We’ll work with different steps. Rushing isn’t an option. It’s important to spend the time needed on every single part: the detailing on your doorpannels should get just as much attention as the components in your engine, or transmission.
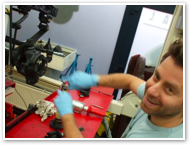
Every single part on the new vehicle should be treated and protected again corrosion. It’s also a great feeling to see that all parts have been epoxy coated and are shiny and bright again. Brushpainting parts is really the last thing you’ll want to do!
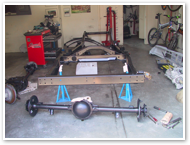
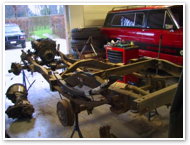
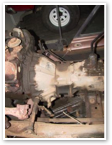
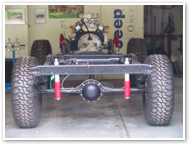
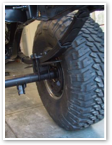
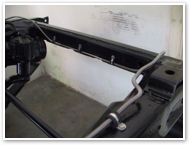
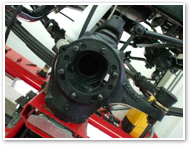
The chassis is the first thing to consider. Along with that goes axles and suspension. A good way to start is to sandblast everything, galvanize the frame, metalize the suspension and the axles and then epoxy coat everything with a nice finishing touch.
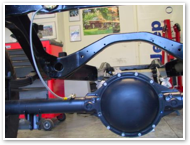
Now is a good time to consider the suspension part. Will you want to have an “all-original” suspension? Or will you want to lift the vehicle for ground clearance and tougher looks? It really depends of the vehicles! Jeep trucks were not particularly high in those days. Ford, Chevrolet and Dodge made higher, rougher trucks back then. We can provide a a very smooth suspension or hardcore off-road lifts. It really depends on what you wanna do to your Jeep and the purpose it will serve in the future. Shocks are always changed with a suspension change. We tend to use Rancho shocks for everyday quality. We’ll open axles, inspect and replace anything that’s bad. It’s also a good idea to change gear ratios.
Next step is the mounting of the brakelines. It’s a good idea to remanufacture brakelines in stainless steel to avoid future problems and corrosion.
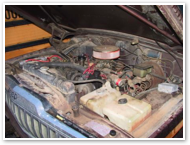
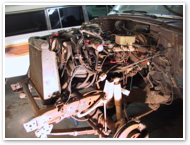
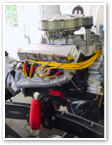
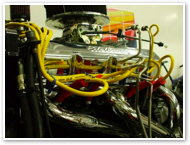
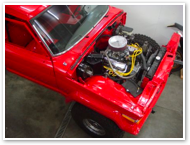
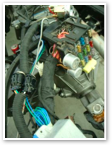
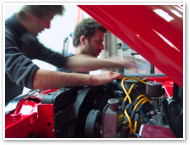
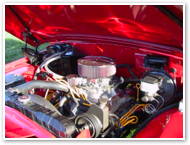
Now comes the fun part. Mechanical restoration leaves a lot of doors open! You can basically decide to keep your engine original or rebuilt it and gain some power. If running good before the disassembly, we’ll usually open it up, check everything, and replace used components. AMC 360 and 401’s are strong engines that really are known for being milemarkers. Gaining power is fun, but don’t forget that the rest of the mechanical components such as the transfer case, the transmission and the axles have to be as strongly built, otherwise you’ll only run into problems. It’s a good thing to find a compromise between light power gain and everyday durability. We’ll usually change the camshaft, rehaul the heads and install a 4-barrel intake and carburetor. This makes it easy and fun. Of course, we’ll also change parts such as the oil pump, the water pump and the usual maintenance parts such as plugs, wires, coil, gaskets and filters.
If an engine doesn’t run like it should when it comes in, we’ll do a complete overhaul job. This is way more expensive, but you basically end up with a completely new engine! It’s a great upgrade to install the rare and eternal AMC 401. We can also dress up your engine with chrome accessories, including valve covers, pulley’s and headers.
Transmissions are checked and rebuilt if necessary. Everything we touch is opened, inspected and cleaned. Changing gaskets and seals is a must. When you have a truck that looks new, you don’t want to have a single oil leak on the floor! The transfer case is checked as well. Steering components are assembled after checkup!
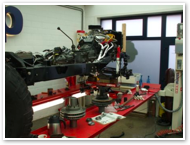
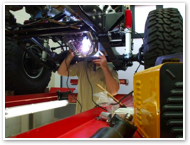
When everything is ready and checked, we’ll mount the mechanics back on the frame. The use of polyurethane engine and transmission mounts is again a must!
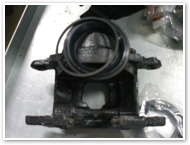
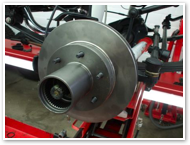
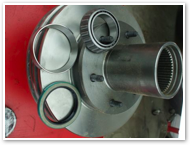
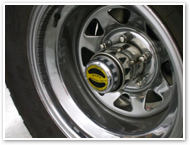
Usually it’s a good time to check bearings, axle components and to install new brakes on the truck. We usually also install new locking hubs from Warn.
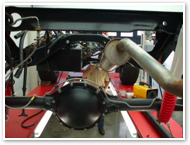
It’s also a good thing to install the fuel tank, the fuel lines and the exhaust at this point. There’s a lot of space to allow easy access and it makes life way easier to do this now rather than later.
In some cases, we will install the old exhaust pipes back on until we have a custom made stainless steel exhaust manufactured according to our wishes!
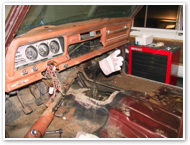
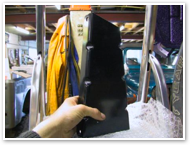
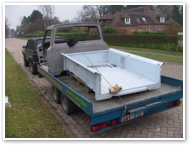
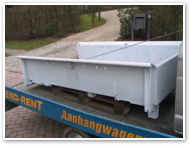
Now it’s time to speak about the body. It’s been sent in the beginning of the process to the sandblaster, it’s been metalized and sent to the body shop. If major repair is done, we’ll sandblast and metalize the body again.
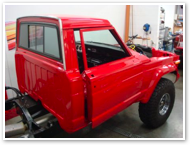
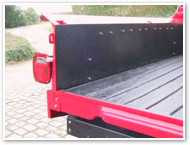
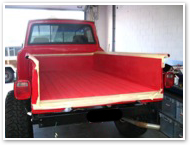
The body is then treated and primered before being painted and clear coated. This is usually the most important and expensive part of the process. The underneath of both truck and bed are coated for protection before being painted.
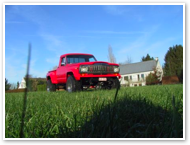
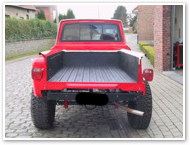
Once back, it’s time to mount the body back on the chassis. If extra lift is needed, we can add extra high polyurethane body mounts. Usually a good combination for a lift is 4” higher leaf springs and 2” extra high body mounts. This will give more ground clearance, keep a safe drive, and make room for larger tires. This will also provide the “muscle-look”.
We’ll mount the fenders, the front, doors and tailgates at this point. Again, we’ll take all necessary precautions when assembling. We use special mounting tape between components to avoid annoying friction noises. This makes the car feel solid and strong.
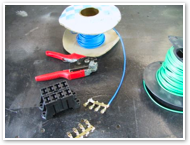
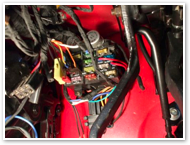
It’s also time to install the electric circuit. This is a crucial part of the restoration. Each and every wire is inspected and checked. We will also check each connection and even add wires and relays to power additional features such as electric fans, air conditioning, electric seats, windows or central locking systems.
All wires are taped and bound so they don’t jiggle inside the circuit. We want to eliminate any risk of fire so every precaution is taken!
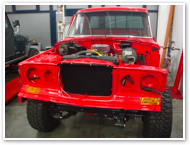
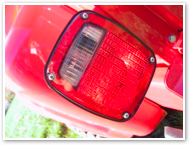
The front is then assembled with the as-new or new components. Lights, chromes and grilles are usually purchased new.
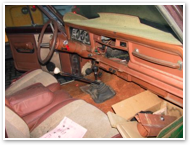
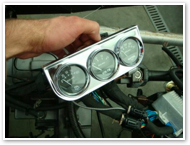
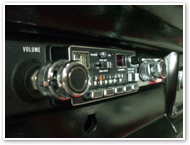
Then its time to install the dash. It’s usually been painted in its original color. We tend to remanufacture or even make a special leather top for the plastic or vinyl parts.
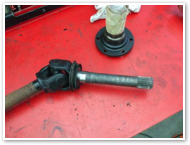
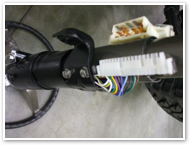
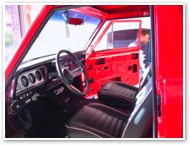
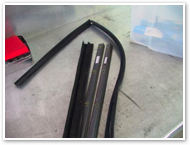
The steering column is put back into place. The glass is installed using new gaskets. We can find new glass if necessary. Newly reproduced doorpannels are mounted. Floor and doors are sealed with thermic and noise isolant before the carpet or panels are put back into place.
The seats are upholstered and remanufactured to original schemes with new calfsleather. The headliner is remanufactured and put back in place after the cab top is noise-isolated. Chromed parts are buffed up or rechromed if needed.
Then comes the big moment: the first start. It’s always a great time to start a new engine for the first time. You wanna make sure that oil pressure is right and that you hear no weird noises. You also want to keep a check on the electric circuit and fuel lines.
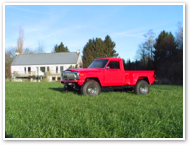
Taking the Jeep for a first spin, is like driving a new car out of the dealership.